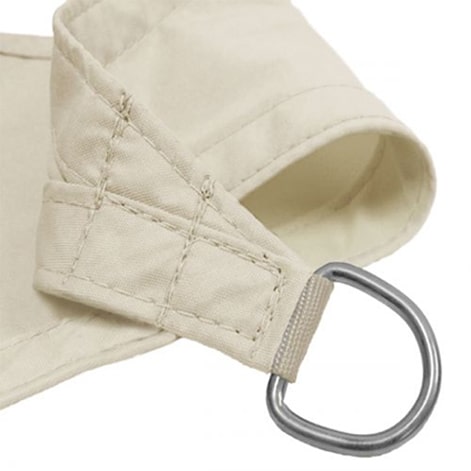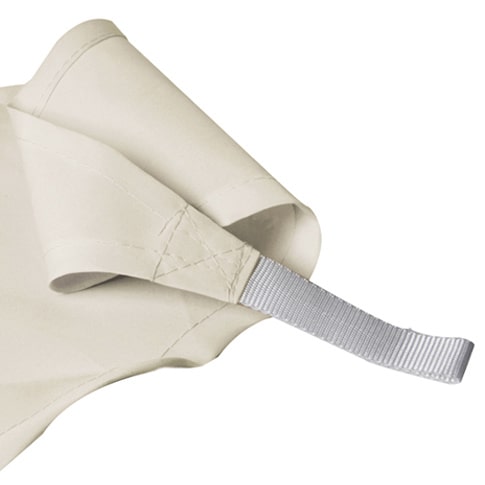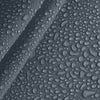


Premium Waterproof Sail Shade
- Low stock - 3 items left
SKU:
SSTER65RECW
Regular price
£149.99
Sale price£74.99
Save £75.00
Step 1: Choose Shapes
Size Chart


Rectangle

Triangle

Right Angle

Square

Delivered in 1-2 Working Days - £4.99 For an Unlimited Number of Items.
Accessories(Install & Secure your Sail Shade)


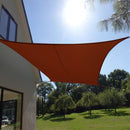
Premium Waterproof Sail Shade
size: 6x5m / Terracotta